If you have an attachment you’d like to upload to your appointment, this page will walk you through the process.
Attaching a File During Appointment Creation
While you’re setting up your appointment, you can easily attach a file to the reservation form so that your consultant can look at it. At the bottom of the form there is a space that looks like this:
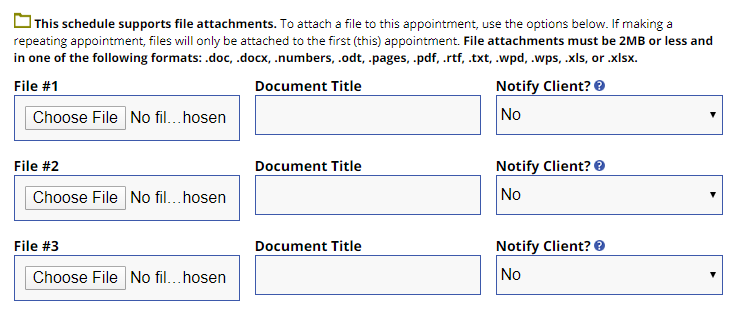
You can attach a file easily by clicking the “Choose File” button and navigating to your chosen item. When you save the appointment, it will save the file for you there.
And that’s it! Super easy!
Attaching a File to an Existing Appointment
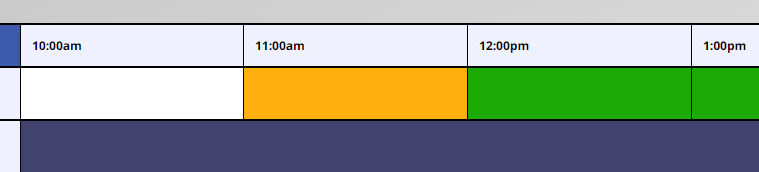
If you made your appointment ahead of time and want to attach a file to it, the steps are pretty similar. First, log in to your account and navigate to your appointment. It should be a bright orange-yellow color, as such:
Click on that to open up your reserved appointment, then go to the bottom of the appointment window to find the “Edit Appointment” button. As you can see, the instructions for attaching a file are right there as well!

Clicking the “Edit Appointment” button will bring you back to the original reservation form, which has the options for attaching a file at the bottom. Follow the instructions for attaching a file during appointment creation above, and save your appointment–and that’s it!